Date |
Event |
Time Used |
$$$ |
| 24-Feb-01 |
Pick up a sheet of 1/4"
mahogany underlayment at the Welbeck Sawmill |
|
18.39 |
| 31-Mar-01 |
More supplies from Welbeck Sawmill |
|
|
| 300 3/4"
plated wood screws |
|
8.59 |
| 9' long 1"
X 8 1/2" piece of clear poplar |
|
26.81 |
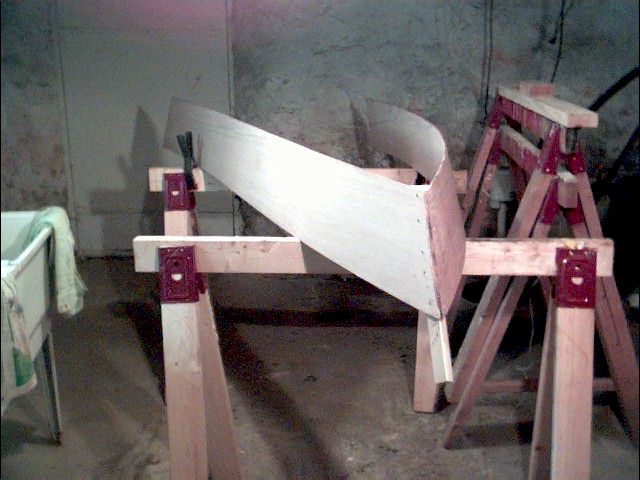
03-Jun-01
Sides Attached To Stem
Lofting Hull and Gussets
|
After being frustrated by 2
1/2 weeks of rain, and being unable to do anything more on the MiniCup, I've started on
the skiff. Today I cut the sides out and the stem and attached them together.
I used waterproof glue left over from the MiniCup as glue. It was quite tricky to
attach the second side of the skiff to the stem. I ended up having to tack one
corner in place and then do the other corner with the already attached side on the ground,
and the un-attached side leaning up against a sawhorse. I've left that to dry and
trimmed the lower portion of the stem off. I may well leave the upper portion of the
stem for a painter etc. In order to get the stem angle right, I had to re-draw it in
TurboCad. I built the stem out of 1 1/2" X 1 1/2" spruce that I had laying
around. I've updated the posted drawings under "Bits" to show the
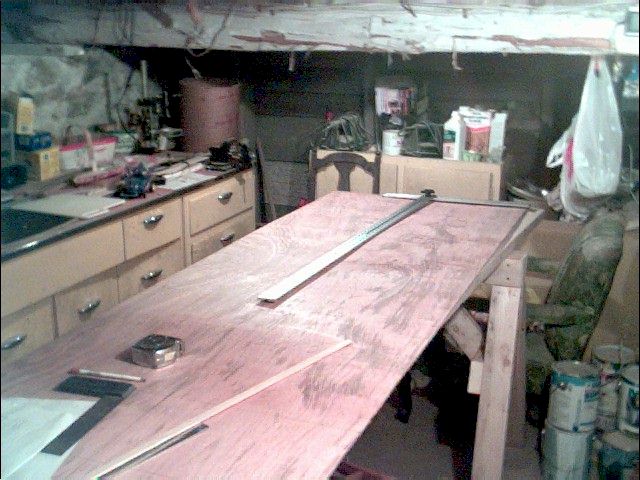
dimensions I used. I also took some
time later to lay out the hull and the gussets. I'll cut the oar blades out later
from other scrap stock. The gussets took some fancy measuring and layouts. |
1.5 |
|
4-Jun-01
It looks like a boat Jim |
Make centre frame and
transom. Use bits of scrap spruce 2X4 for the frame. Attach centre frame.
A test fit indicated that the frame would be 1/2" too wide, probably due to my
material, so trim the centre piece to fit over-all dimensions. Bevel the side pieces
of the frame as well to follow the curve of the sides. Use duct tape to hold the
sides in at the transom as there was a lot of stress on the centre frame. |
1.5 |
|
| 7-Jun-01 |
Pick up some PL Premium
construction adhesive at Home Depot |
|
9.14 |
| 7-Jun-01 |
Pick up a small container of
polyester body filler from Canadian Tire and 1 gallon of exterior Acrylic primer (cheaper
than 2 quarts). |
|
37.93 |
| 18-Jun-01 |
Busy time at lunch. Cut
and attach stringers for transom from an old 1" spruce boad (barn board from a shed
project). Rip 4 pieces from the 1" poplar board. Bevel two for chine logs
to roughly 15� to match the angle of the transom and rip them down to about 3/4"
thick. In hind sight, I should have beveled the side stringers on the transom out by
5� or so so that they married up with the sides better. The fact that I didn't made
it trickier to attach the chine logs. |
1 |
|
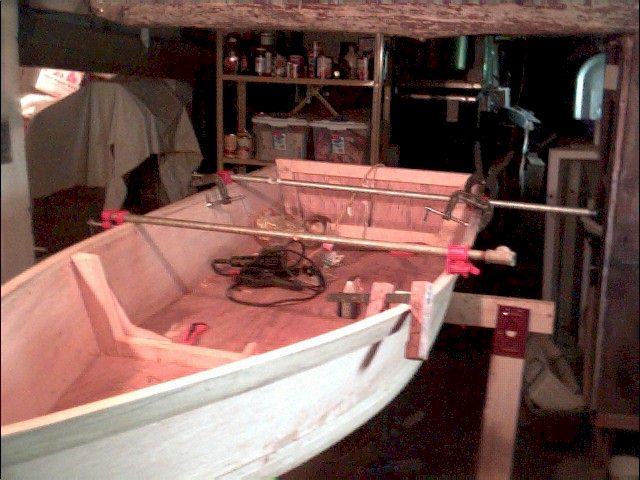
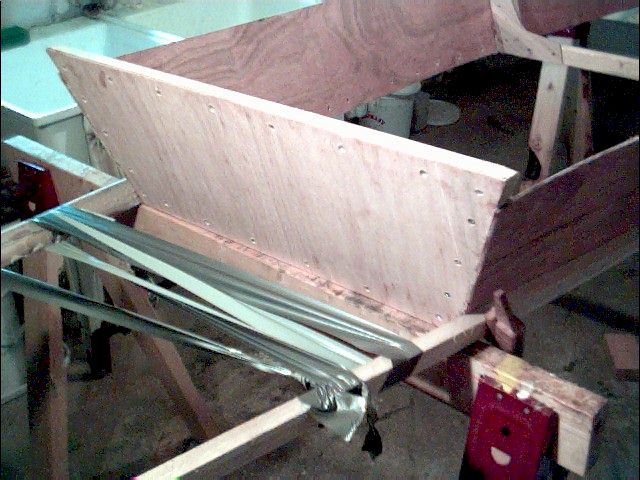
20-Jun-01
Spanish Duct Tape Windlass
To Be Trimmed
To Be Removed and Trimmed |
Attach the transom to the
sides and chine logs to the bottom of the sides with PL Premium. I had some troubles
with the chine logs being difficult to bend and getting out of alignment with the side
bottom. The port side proved easier to do, probably because I first attached it at
the centre frame and then worked forward to the bow and then aft to the transom. I
tried to do the starboard sides simultaneously, but that didn't work. When I got
towards the stern on the starboard side, there was a lot of pressure pulling the sides
out, so I put one screw in at a time, clamping the chine log to the side with three clamps
as I moved along. I also used duct tape on the aft end of the chine logs as an
improvised "Spanish Windlass", tightening it as I went along as well. The PL
Premium was nice to work with, but I was glad that I was wearing cover-alls and gloves.
Where the logs met at the bow, I sawed the starboard one off parallel with the opposite
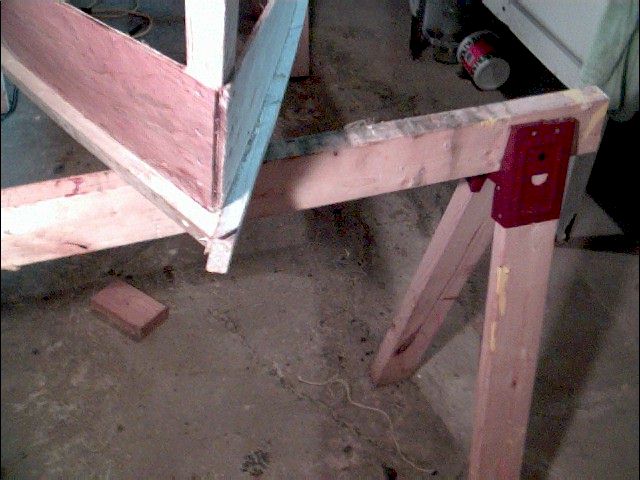
side and then ran the port side past it. I put a screw in to join them together.After supper, I went down and used a putty knife to
scrape away the glue squeeze-out. Then I turned the assembly upside down and marked
the centres of the centre brace and the transom. I purposely did not cut out the
hull even though I had lots of marvelous CAD work that I had done. I had put a
centre line down the hull piece though. I aligned the centre line with the bow stem,
and tacked it into place with a finishing nail (not all the way in for later removal).
Then I aligned the centre lines on the centre frame, and tacked it in place with
one finishing nail in the centre. The transom was then shown to be out by about
3". I pushed it into place and tacked it down with a couple of nails. I
then checked the sides to see if they were even. They weren't aft of the centre
frame. I used a set of pipe clamps to force the port side in, tacked it in place
with finishing nails every 8". I then checked and tacked the starboard side.
I then traced the outline of the hull as it sat for later cutting. I'll leave
the hull on until I can get to cutting it out so that as the glue sets, the pieces will be
properly aligned. |
2.5 |
|
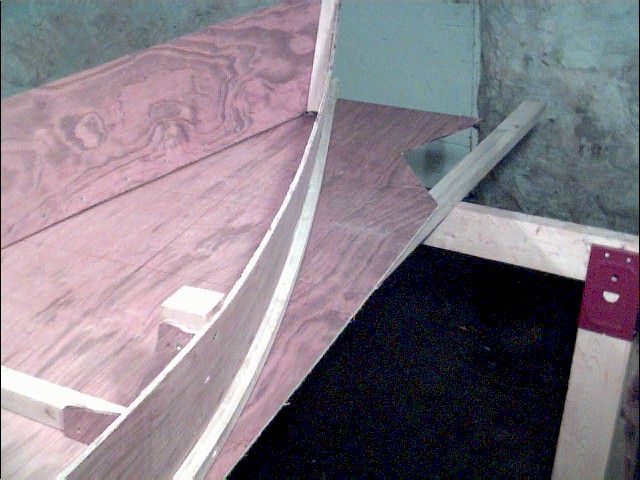
22-Jun-01
Ready for Gunwales |
Trim the hull to the marks
made previously. Apply PL Premium to the bottom of the chine logs and centre
stringer and put hull in place making sure to align it up again. Screw down with
3/4" screws about every 4". After allowing the glue to cure for 1 hour, go
down and scrape off the squeeze-out with a putty knife. |
1 |
|
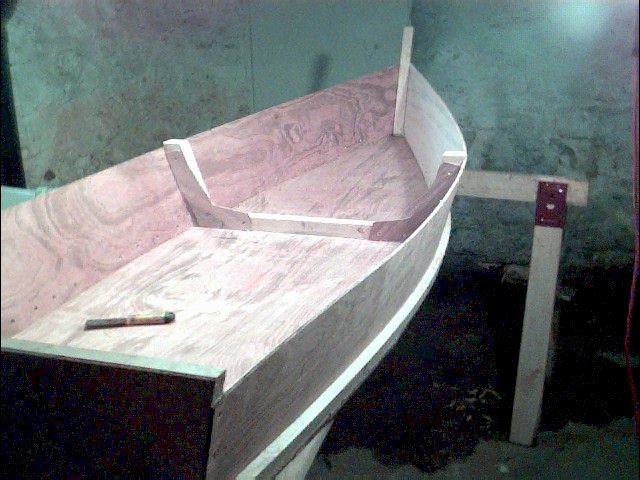
1-Jul-01
Attach Gunwales |
Bevel the top of the gunwales
to 15� and notch in the inside of them where they need to go over the sides. The
gunwales will end up being about 1/4" higher than the centre support. Learning
from attaching the chine logs, first attach the gunwale on the starboard side just forward
of the centre support. Make sure that the notches are completely filled with the
sides. Use PL Premium as glue and attach 3/4" screws about every 5".
A 1 1/4" screw goes through the gunwale and into the stem. Cut the
starboard gunwale off parallel with the port side and attach the forward part of the port
gunwale the same as the starboard side. Now it gets a bit harder. Using duct tape on the aft end of the
gunwales, start shaping them to fit. Use two pipe clamps (1 to hold and 1 to set) as
well as 2 C-Clamps and 2 spring clamps to work my way aft from the centre support 1 screw
at a time (5" apart) until the hardest part of the curve is done, being careful to
make sure the notch on the inside of the gunwale fits over the side. Put a 1
1/4" screw in through the gunwale into the centre support and the transom. Wait
for the glue to set up a bit, and then trim the gunwales at the bow and stern, and scrape
off the excess glue. |
1.75 |
|
| 2-Jul-01 |
Cut the skeg and a 1"
keel out of spruce 2X4s. Since the actual dimension of a 2X4 is 3 1/2" I cut
another small piece to make the height of the skeg 4" (sort of). The sort of is
because I notched out the back of the skeg to put a small caster in place to assist in
moving the skiff around similar to what is found on the small Walker Bay boats. To
install the skeg and keel, I drilled every 5" or so through the centre line in the
inside of the hull. This gave me a centre line on the bottom of the hull. I
drew that centre line, applied PL Premium to the bottom of the skeg and my son Trueuman
held it in place while I put in the first two screws in the aft end. I then turned
the boat right-side up and attached the rest of the screws to the skeg. Flip the
boat over again, and attach the keel with a bit extending out the bow to be trimmed later.
Use clamps to hold the keel in place, put in a couple of screws in the aft end, put
the boat right-side up and finish the rest of the screws. Apply some PL Premium to
the extra filler piece on the skeg and put it in place with lots of clamps - no screws.
Note - I made sure that I spread the glue out smoothly with a popsicle stick before
joining pieces. For the filler piece on the skeg since there were no screws, I gave
it a tap with a hammer to ensure a good bonding surface. |
1.25 |
|
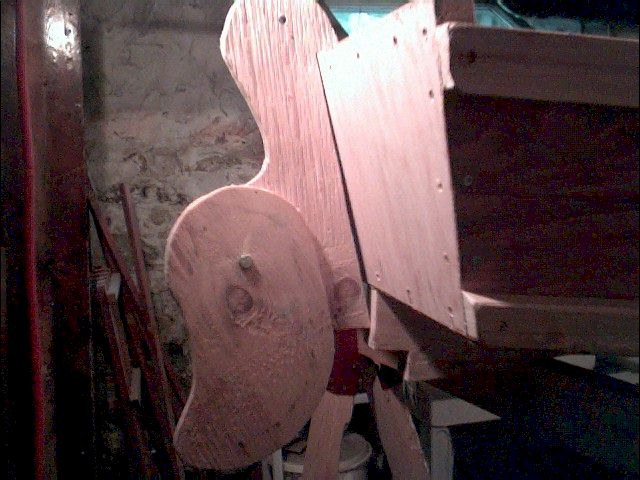
3-Jul-01
Rudder |
Spend my lunch re-drawing the
rudder from David Beede's
Cygnet. Then, print it out full sized and using a scrap piece of 1/2"
plywood, cut it out with my jig saw. The drawings I use are posted as a PDF
File and as a TurboCad
file. You have to do some guessing on how to piece together the PDF file though.
It creates a 3X3 page document. The rudder is a bit rough yet so I'll have
to use some filler to fill voids in the plywood before finishing it. Because it was
required for this, I am counting the 1 hour I spent in TurboCad drawing the rudder out. |
1.25 |
|
| 4-Jul-01 |
Pick up a 1 1/4" dowel
at Home Depot to use as a mast. It required a bit of picking over the available
material to find one that was mostly straight. |
|
12.17 |
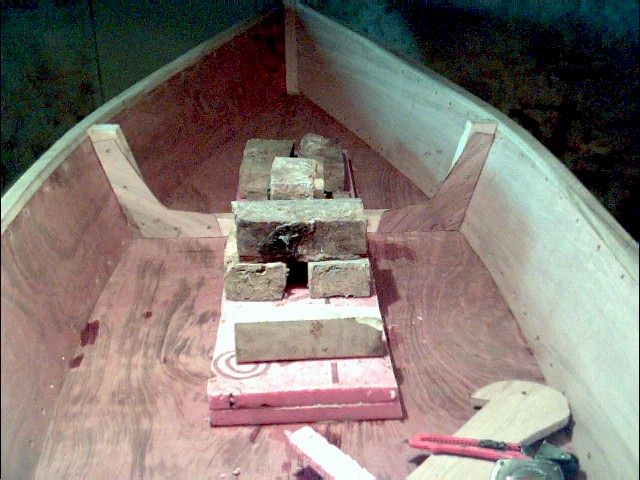
29-Jul-01
Positive Floatation |
Finally back at it. Cut
out 2 layers of foam board, wash it clean and attach it to the hull for the inside portion
of the seat using PL Premium. Since the instructions on the glue say to wet down the
areas to be glued if they are non-porous, apply the glue to the wet board. Use
bricks to hold the board down. After waiting a couple of hours for the glue to set
up, glue on 1/4" plywood over the top and sides of the seat and hold in place with
bricks and clamps.
2 entire tubes of adhesive were used in this process. |
1.75 |
|
| 30-Jul-01 |
Cut out and glue and screw
down the mast step and mast partner. The mast step was cut as per the plans, but I
did the mast partner to fit and aligned it up with the lofting line at the 12" width
mark. To do this, I set the boat on the ground and levelled it from side to side and
then, setting my level on the seat, levelled it for and aft. I then set my level
vertically on the 12" mark, and lined the aft end of the mast partner up to it.
Trace where the bottom of the mast partner meets the sides, and cut it out bevelled
in slightly - table saws are marvelous for this. Measure back from the 12" mark to
the centre of the hole in the mast step and then put a hole in the mast partner at the
same spot. Use PL Premium to glue the mast partner to the sides with 2 screws
toe-nailed in at the aft end to hold the piece in place.
The holes I drilled were 1 1/2" rather than the 1 1/4" diameter of my mast.
I did this so that the mast would slip in and out. I may have to add
material, or wedges to keep the mast centred and in place.Later the same day, flip the boat over and apply some polyester
putty to the screw holes etc. Spend time later using a surform plane to smooth it
out. I used the medium density filler here with fiberglass added. I found that
it didn't work quite as well as I would have liked to smooth out screw holes. It
would probably be fine for larger areas though. |
2.5 |
|
| 31-Jul-01 |
Pick up another surform
blade, 2 tubes of PL Premium (to replace the ones I borrowed out of workshop supplies for
the seat) and a can of low density polyester autobody filler. I'll probably end up
not using the other can for anything else, but will keep the cost here. |
|
21.96 |
| 1-Aug-01 |
Use the lighter putty to fair
the hull more. It worked better than the meduim density putty, especially once I
started to use a clean container and putty knife each batch. That seemed to prevent
it from setting up too fast. After the putty set up, fair with the surform and sand.
Flip the boat over and fair the edges of the seat with the surform in preparation
for more putty. |
2.25 |
|
| 3-Aug-01 |
Use the medium density filler
to fillet the inside corners of the hull. Use the lighter putty to fillet the
seat/hull joint and fill screw holes and cracks. Use up most of the can of light
putty in the process. |
1.25 |
|
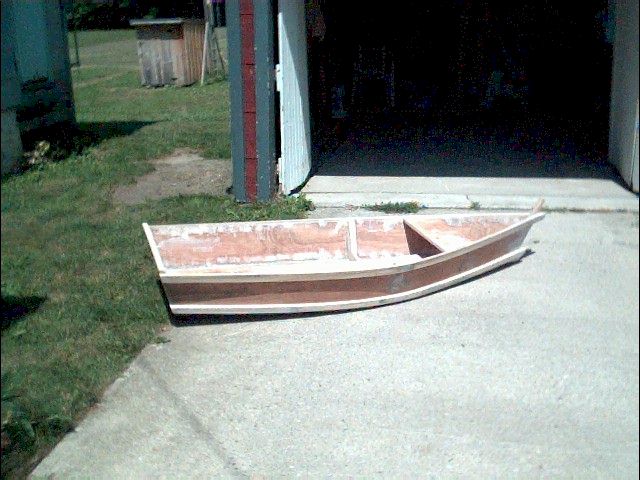
6-Aug-01
Closer to the water now
Primed |
Use a surform, then sand the
inside of the hull. Carry the boat outside and apply a coat of Alkyd primer the the
inside and outside of the hull. In the process I noticed that my finishing job is
not as perfect as it might have been, but I'm not too concerned. It should float
anyway. |
2 |
|
| 10-Aug-01 |
Sand the primer coat noticing
all of the drips and such that I got when putting the primer on too fast. |
.5 |
|
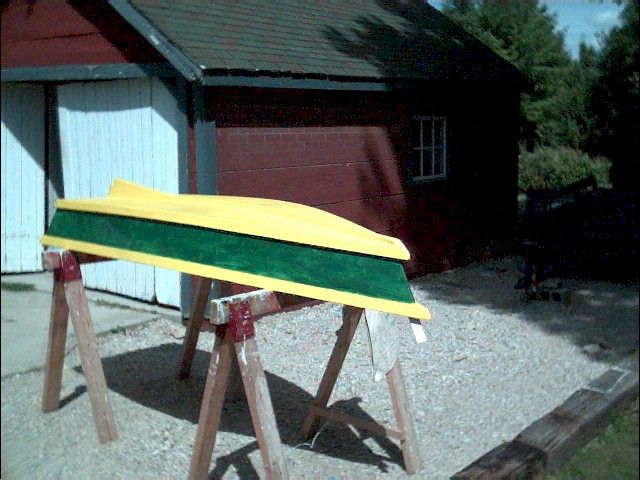
11-Aug-01
One coat of paint on over the primer |
Apply paint to the hull hand
sides. Use a wide putty knife on the sides to keep the green separate from the
yellow and so that I could apply boat colours at once. |
1.5 |
|
| 13-Aug-01 |
Pick up two of the clearest
spruce 2X4s I can find at Welbeck Sawmill |
|
7.73 |
| 16-Aug-01 |
Second coat of green on the
sides, first coat of green on the seat. |
1 |
|
| 17-Aug-01 |
Second coat of green on the
seat, first coat of green on the stem. First coat of yellow on the top of the
gunwales, inside of transom and patch where the green on the sides ran onto the chine
logs. |
.5 |
|
| 18-Aug-01 |
Third coat of green on the
seat and sides. First coat of yellow on the inside of the hull. |
1.5 |
|

