Date |
Event |
Time Used |
$$$ |
| 24-Feb-01 |
With the help of my 6 year
old son Trueman, re-measure the aft portion of the boat. I then spent some time
re-drawing the aft deck and comparing the measurements to the plans. Specifically
what part connects where. Based on this, I came up with a new layout of the aft deck
that matched both Trueman's measurements and my calculations from the plans. Go out to the Welbeck Sawmill (again) and pick up 3 sheets of
1/4" mahogony. Only one is expected to be used as I re-do the aft deck so that
is all I am showing here. |
2 |
18.39 |
| 25-Feb-01 |
 | Cut new aft deck according to my
calculations. It's basically the same as the old one, but wider and squarer at the
transom. I used the old deck for a pattern for the cockpit cutout. In a test
fit, it looked quite good. |
| Feeling brave, I used my hole saw and after
4 measurements, cut the hole in the foredeck for the mast tube. Interestingly, the
cut out piece might work well as an additional sacrifice/glueing bit for the mast tube. |
| Cut the side deck supports to fit under the
side stringers and beveled the inboard end at 45�. Put on one coat of epoxy on the
portion that will be inside the side floatation chambers, and use thickened epoxy and a
screw in the end to hold them in place. In order to be sure that they won't dry in
the wrong place, tack the foredeck to them to make them be in the correct spot. |
| Cut out the pieces for the tiller box and
assemble one side. |
|
3.75 |
|
3-Mar-01
Stiffening Deck
Stiffening Deck

Cheap Clamps To The Rescue |
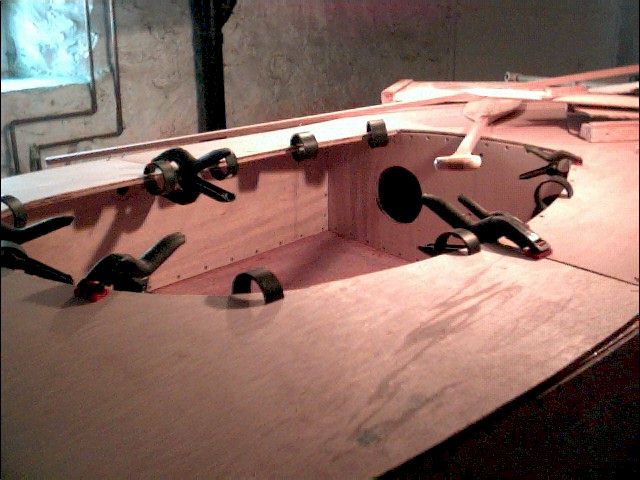
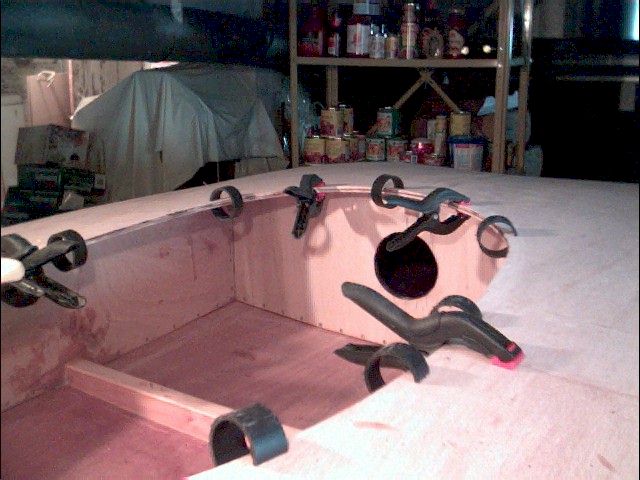
Work on strengthening the
deck at the cockpit. First try using a left-over stringer notched to go under the
deck and cover the outer edge of the cockpit hole. Bending these stringers without
steaming was not possible as they broke too easily even when I tried shorter lengths.
Rather than build a steam box, I decided to just add another layer of 1/4"
plywood under the deck glued with plastic resin glue. To make sure that it dries to
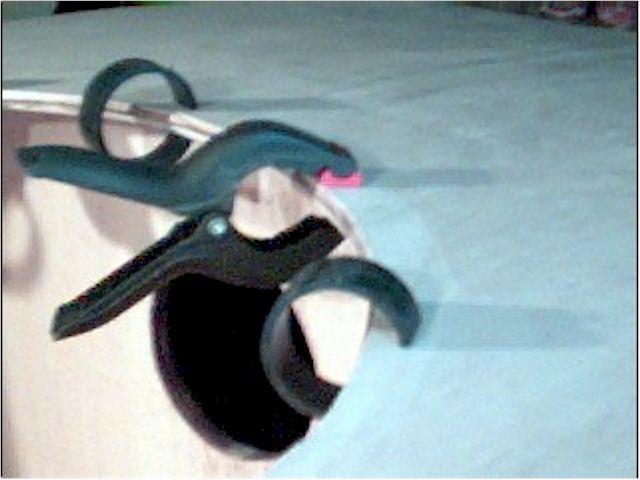
the proper shape, I tacked the deck in place with some finishing nails. In order to
save on clamps, I made some more ones out of 2" PVC pipe slit on the table saw.
I slit a length first and then chopped it of in 1 1/2" lengths. |
1.75 |
|
| 4-Mar-01 |
Coat the inside of the rudder
box and the dagger-board with one coat of epoxy. Assemble the rudder box once the
epoxy has set.
Sand the upper stringers in preperation for attaching the deck. Re-glue one part of
the extra layer of plywood in the aft portion of the cockpit from Saturday. |
2 |
|
| 10-Mar-01 |
Trim the foredeck to size and
cut the daggerboard slot in it after much measuring etc.
Using a roller and a foam brush, roll and then tip three coats of epoxy onto the underside
of the deck.
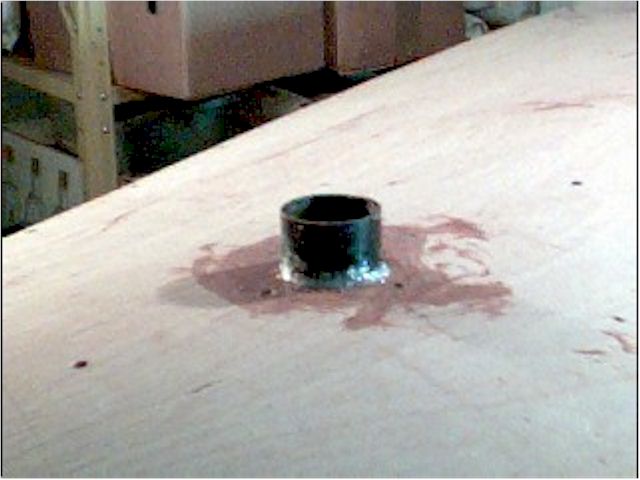
Install the mast tube permanently with a wooden piece glued on the bottom as a sacrifice
piece. Seal the mast tube into the mast hole with bathroom caulking (hey - it's what
I had laying around). |
2.5 |
|
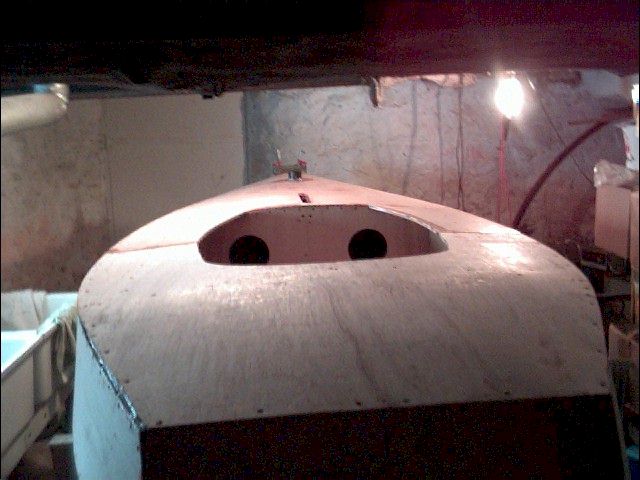
11-Mar-01
Clamping Bow

Crack Again

Waiting for the glue to dry
Sealed Mast Tube |
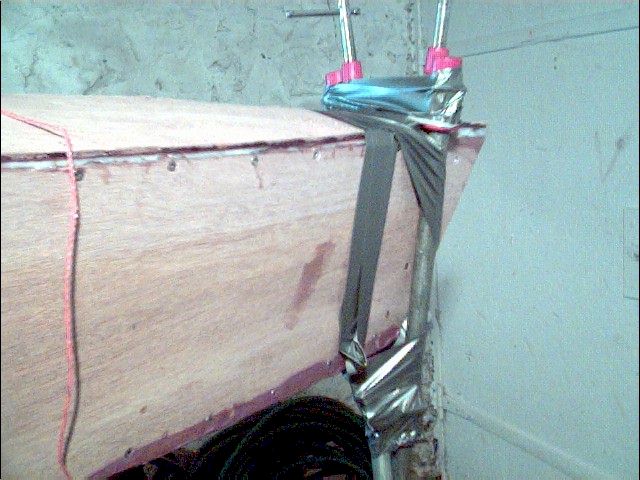
Use epoxy thickened with
silica to glue the deck on. I had quite a time with the compound bend of the deck at
the bow and ended up cracking the deck at that point. If you look carefully at the
second picture, you can see the crack along the bow frame. I'll have to reinforce this
later. As I was unable to completely bend the deck into place, I filled the gap with
epoxy and left my pipe clamps in place. I used duct tape as additional clamping and
to hold the pipe clamps together. Over-all though it doesn't look too bad. We'll see
what I've got in a couple of days when I remove the clamps at the bow. Of course 2
hours later I realized that if I had done a taper similar to the hull by cutting the deck
down the middle for about 1 1/2 feet and then attaching the deck first to the sides and
then the bow frame. |
3.5 |
|