Date |
Event |
Time Used |
$$$ |
06-Aug-00 |
Ordered Plans
- $15US |
|
22.50 |
16-Aug-00
-
26-Aug-00 |
Build a model |
|
|
28-Aug-00 |
Loft out the
rudder and tiller on spare 1X12" barn board. I printed out full sized copies of
the drawings I had done for the model and stapled them to the wood for lofting. Cut
out using table saw, swear at the over cut caused by the curve of the blade (resolve to
fill same later) and start shaping with a block plane. This goes incredibly quickly.
Those old tools sure work well. It's too bad that I tapered it backwards
<g>. |
2.5 |
|
| 9-Sep-00 |
Hurrah - The start of the
month and I now have a bit of cash to buy lumber. I ended up going back to the Welbeck Sawmill. Their prices are often higher,
but the quality of advice (especially from Bonnie) is worth it. After some
discussion, it was decided to go with mahogany underlayment (Luan to any Yanks) rather
than marine grade plywood since it was less than 1/5 the cost. For that money, I can
afford to epoxy both sides of the sheet. Something I was going to do anyway.
Much to my surprise however, they didn't have 1" stainless screws so I'll have to get
those another day. Now I have to make room in my basement for the project. |
|
|
| 1X6 X 14' Clear Douglas Fir |
|
40.60 |
| 1X6 X 8' Clear Douglas Fir |
|
23.20 |
| 1X6 X 12' Clear Douglas Fir |
|
34.80 |
| 5 sheets 4X8' mahogany
underlayment |
|
79.95 |
| 1 can Marine adhesive (Dural
Plastic Resin) |
|
13.49 |
| Taxes |
|
28.80 |
10-Sep-00
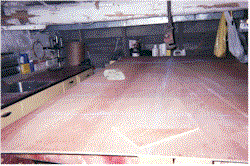
Lofting Starts! |
Well, after 4 hours of
cleaning my basement, I now have some of the room I need to build the boat. I've
decided that I'm going to need two areas, so that means that the other side of the
basement gets attacked next.
I did though get one panel (front hull) lofted. I didn't have any sail battens, so I
used a thin piece of wood left over from another project. I also did layout lines on
the sheet using a chalk line rather than drawing them by hand. It seems to have
worked fairly well. An inspection of my circular saw blade though is going to send
me back to the hardware store. I think my wife is getting used to hearing me say
that I need more tools <g>. |
1 |
|
| 24-Sep-00 |
I've decided that tools that
I can use for other things don't count as "Boat Expenses". So, I've bought
a new 1/4 sheet palm sander as well as a new blade for my circular saw.
Finally though I've got some cutting done. I've cut out the foreword part of the
hull and have it now on a set of new saw horses. Even though the plans call for it
to be done later, I've also cut the slot in the front of the hull for the taper that gets
done later. I figured to do it now on flat wood. I've also lofted out most of
the aft sections of the hull and deck. |
2.5 |
|
| 25-Sep-00 |
My screws have arrived!
After much searching, I finally found a supplier for Robertson Stainless Steel
screws. I ordered 3/4" and 1" rather than the 1" and 1 1/4"
screws recommended since the 1" wood I'm using for strips is actually closer to
3/4". I don't want any screw ends to show through. I ended up ordering
from Heritage Marine in London. They in turn had ordered them from Hutchings Marine. Beaver Lumber had also been able to order them in,
but wanted twice as much for them. |
|
71.99 |
25-Sep-00
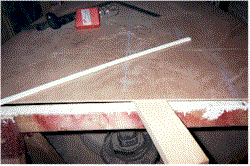
More Lofting |
Cut out aft hull and aft
deck. Loft foredeck.
One thing I did while lofting the aft deck to get the curve "right" was to
decide that the end part of it was a circle. To loft that, I intersected the centre
lines between the appropriate points on the layout and scribed a circle using my
"batten". Just a note on my batten. I used a thin strip of 1"
lumber to make it - actually it was left over from another project. It does not do
tight curves like this one well, but the other curves seem fine.
Note: - See 10-Dec for more notes on aft deck, and Mar 11 for notes on foredeck.
Thing to remember, it's sometimes best to wait to cut out your parts until you need
them. |
1.5 |
|
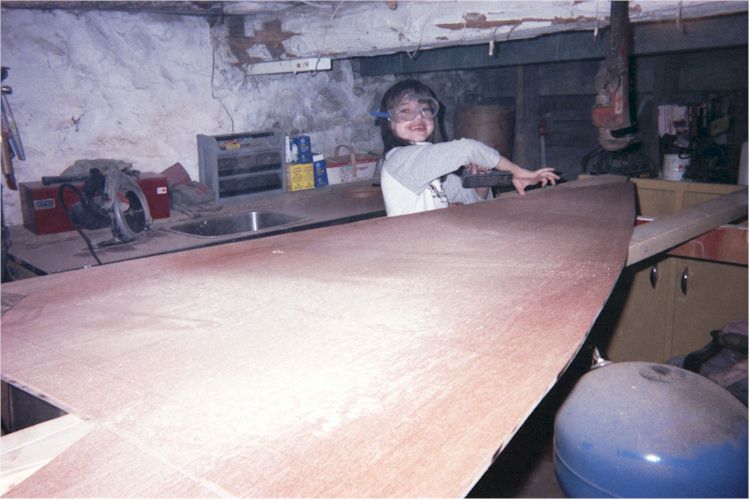
26-Sep-00
Finally, some help |
With the help of my daughter
Emma, I got the foredeck cut. Also lofted the forward bulkhead. - See notes
on Oct 2nd about bulkhead size problems |
1.0 |
|
| 27-Sep-00 |
Took a break at lunch and cut
out the rest of the cockpit parts and the transom.
With the help of my son Trueman, cut out the centreline bulkhead, sides and daggerboard
box. Later, cut out the 2X4 panel joiner on my table saw. I'm not 100% pleased
with it, so I may re-do that part. |
2.5 |
|
| 29-Sep-00 |
Since I was unhappy with the
panel joiner that I cut out of a regular 2X4, I went back out to the Welbeck Sawmill and picked up a 6' long 2 X 3.5
It actually had to be cut out of a larger piece. The man working the yard said that
they have not been able to get fir 2X4s for at least 10 years. I think I may have to
re-think the lumber to use if I build another boat. While I was out there I also
picked up a gallon of epoxy and sundries. |
|
|
| 2"X4"X6' Clear Doug
Fir |
|
12.54 |
| Epoxy Resin |
|
103.99 |
| Disposable Gloves |
|
14.49 |
| Paint Roller |
|
4.49 |
| Fairing Filler |
|
14.99 |
| Epoxy rollers (2) |
|
5.99 |
| Mini-Pump |
|
16.99 |
| Slow Cure hardener |
|
39.99 |
| Squeegee (2) |
|
4.99 |
| Tax |
|
32.77 |
| Total |
|
251.23 |
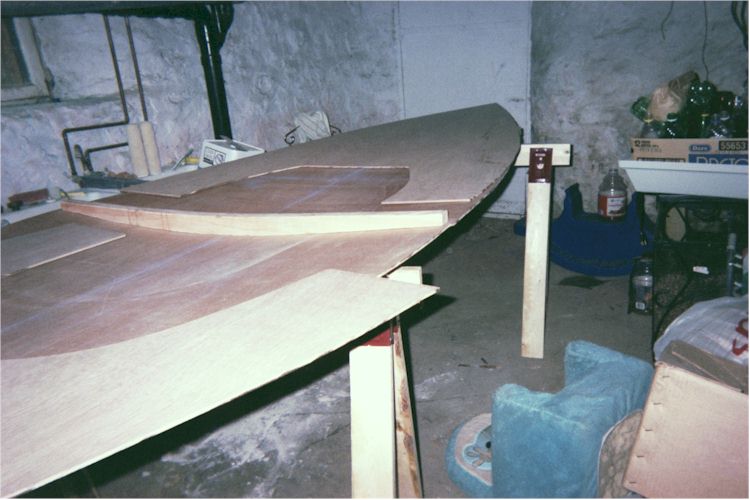
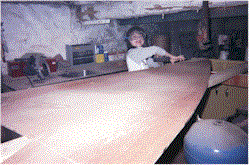
30-Sep-00
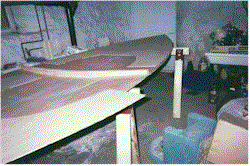
Panel Joiner |
I cut out the new panel
joiner today and attached it to the hull with 1" screws. This showed me two
valuable lessons.
1 - Have everything ready prior to starting gluing
2 - The plans were correct in suggesting cutting the fore and aft sections of the hull and
deck together. I ended up 1/4" off on one side and my centre line is off by the
same amount. Hopefully this is something I can fix up when fairing the hull
corners. It seems that my aft hull section is 1/4" narrower than the forward
part of the hull. |
2.0 |
|
| 30-Sep-00 |
Cut out stringers from 14'
1X6 fir. Fortunately my new saw-horses worked well for an in-feed and out-feed
table. Interestingly, my workshop is almost exactly 14' long. I ended up
setting my table saw in the middle of the doorway and running the stock back across the
rest of the basement. It was a bit unwieldy, but it worked. |
1.5 |
|