 | May 4th - 3 hours
Start dry-fit assembly. In order to make sure that the unit all fit together, I started
assembly in a very specific order so that my pieces would marry up properly. Please
note that my wheel assembly looks like it does because A) I wanted lots of ground
clearance, B) My wheels are smaller than what I wanted, and C) I picked some wrong pieces
(45° "T"s) and wanted to use them.
 | Use my hole-saw to cut out plugs for the wheel assembly and then drill the center holes
out to make them fit the 1/2" rod. Thread all the plugs on a bolt and put them
in my drill to sand them smooth. |
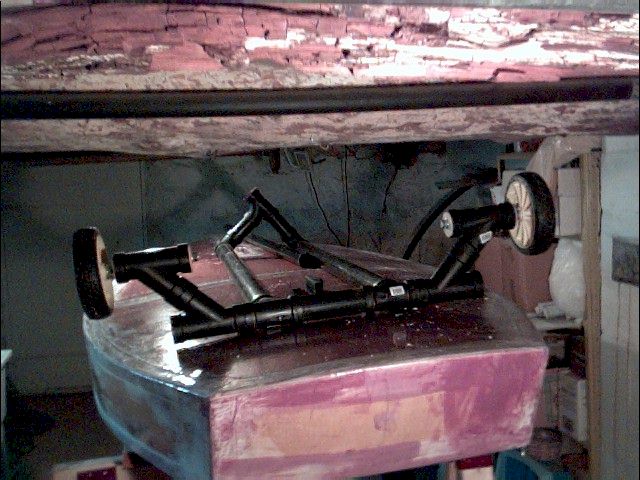
| Make a dry-fit assembly of the wheels to determine the amount of ground-clearance that I
will have. |
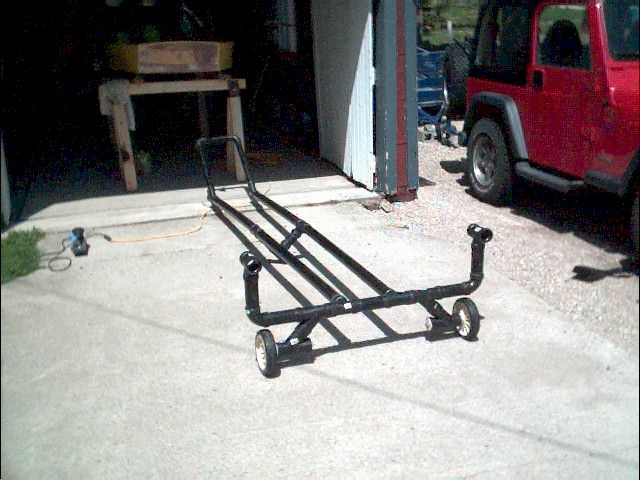
| Make a dry-fit assembly of the forward support to be just slightly shorter than the
wheel assembly. This gives me the width of the dolly body. Note that I'm using
a "T" fitting here at the bottom rather than a 90° fitting as I want
water to get inside the tubes so that the unit will not float. |
| Cut 48" long 2" tubes to go from the forward support to the wheels and dry fit
to the forward support. |
| Cut a spacer piece for the aft end and dry fit it and the wheel assembly. |
|
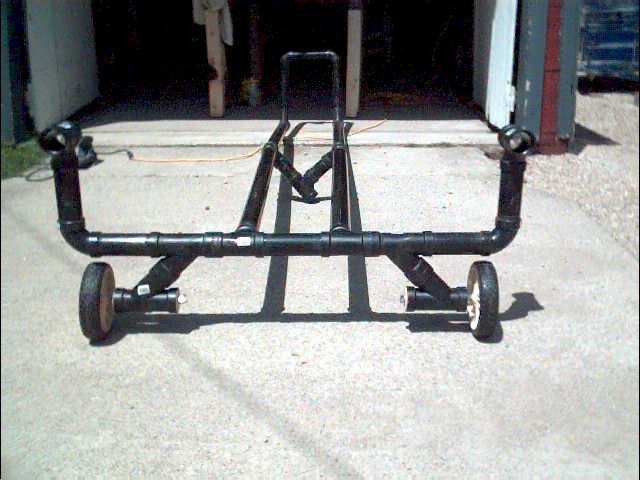
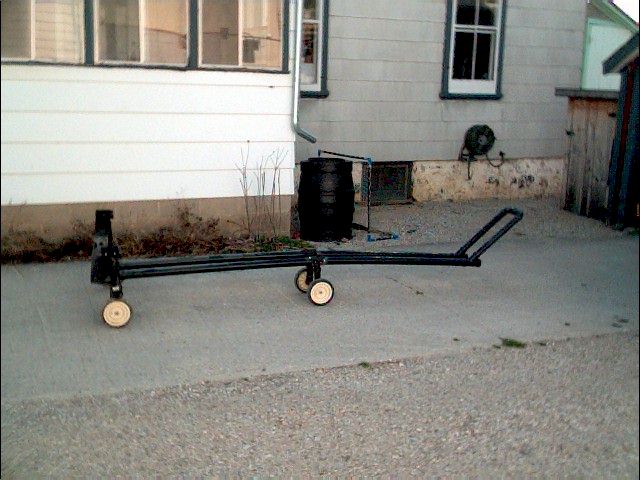
| In the evening, go back down, cut the handle out and glue everything (so far) together.
I still have to construct the aft side supports, seal the wooden plugs for the
wheel supports, and drill some drain holes. |
| May 5th - 1/2 hr
| Attach side pieces at the aft end of the dolly. |
|
| May 26th - 1/2 hr.
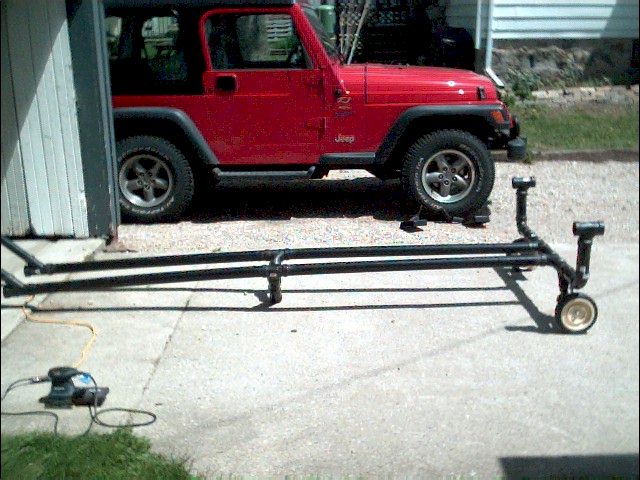
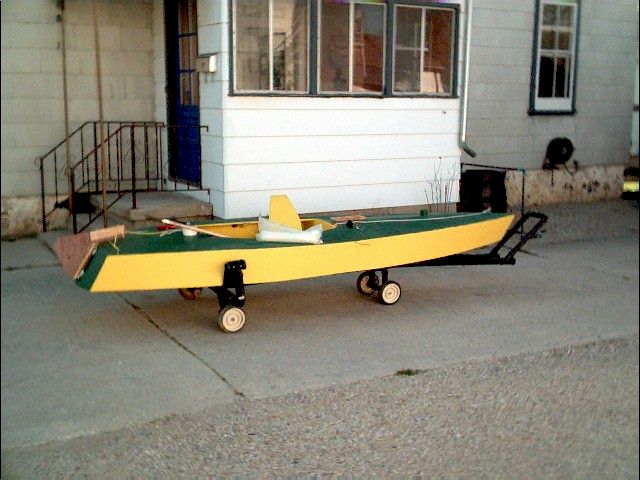
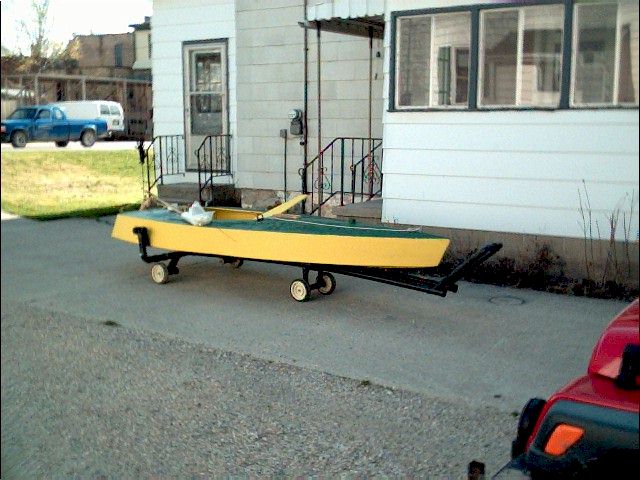
| Finally find material to use as a sling - 4" baler belt from the Farm Store. |
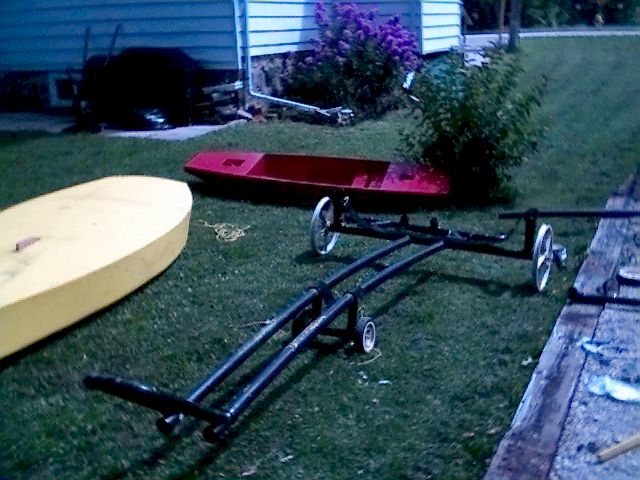
A test of the dolly with the boat on it proved to be fairly satisfactory. There's still
a bit of weight to the unit, probably since the wheels are so far aft, but it rolls well.
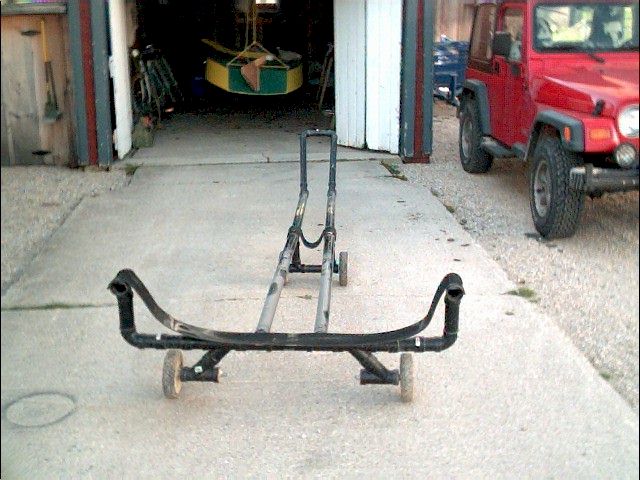
After some test fits, I decided to move the vertical supports on the dolly out by an
additional 8" to make it 4" wider than the beam of the MiniCup. I didn't
include these "modification" costs, but adjusted the dimensions on the bill of
material.
I also built another smaller dolly that will support the centre or front of the larger
dolly using 2 more 8" wheels and wood. The drawings of the side profile are here.
Launching Dolly Mark 1
|
Bill of Material (Mark I dolly)
|
| Qty |
Item |
| 4 |
2" ABS "T" connectors with 2" 45°
connection (for rear wheel assy) |
| 4 |
2" ABS X 1 3/8" - to flush joint above connectors |
| 7 |
2" ABS "T" connectors with 2" 90°
connection |
| 1 |
2" ABS X 7 1/2" - Rear cross-piece |
| 2 |
2" ABS X 4 1/4" - Centre support |
| 2 |
1 1/2" ABS 90° connector - handle corner |
| 2 |
1 1/2" ABS X 18 1/2" - handle sides |
| 1 |
1 1/2" ABS X 10" - handle bar |
| 2 |
2" ABS X 54" - Aft portion |
| 2 |
2" ABS X 48" - Forward portion |
| 2 |
2" ABS "T" connectors with 1 1/2" 45°
connection (To attach handle) |
| 4 |
2" ABS X 10 3/4" Side supports and vertical risers
(at aft end) |
| |
3 metres 4" baler belt as webbing |
| 2 |
Wheels |
| 4 |
1/2" nuts |
| 2 |
1/2" Nylock nuts |
| 4 |
2" wooden circles (used hole saw) To hold wheel axle |
| 1 |
1/2" threaded rod - cut for axles |
| 1 |
ABS Glue |
| |
|
