| 1. Cut 14' of rope. Middle it and form a 2-1/2"
loop, wrapping a piece of tape around it to keep the loop. |
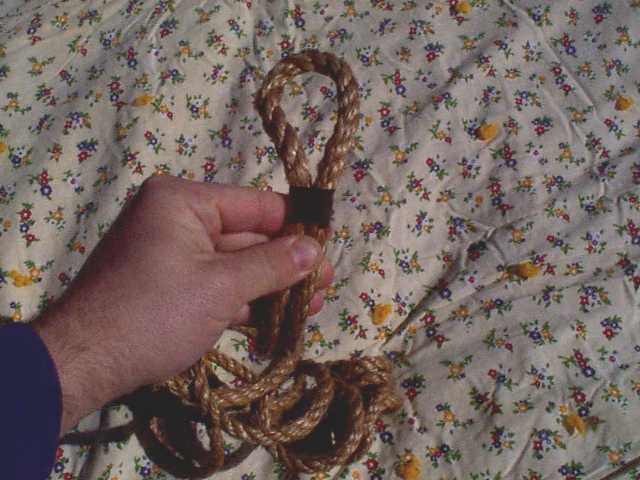 |
| 2. Cut 8 pieces of rope, 9" long. Wrap the pieces
evenly around the middled rope, with the top of the pieces beneath the tape at the loop.
Wrap and bind tight with tape. |
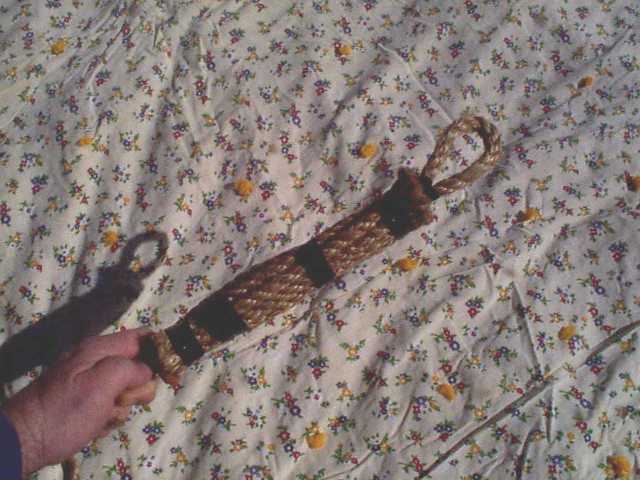 |
| 3. Unravel a few inches of the middled rope, and whip the
ends of the strands with tape. (You should have six strands.) Then fully unravel the
middled rope until you reach the bottom of the bound pieces. Lay out the strands so they
protrude straight out at you in a fairly orderly fashion. |
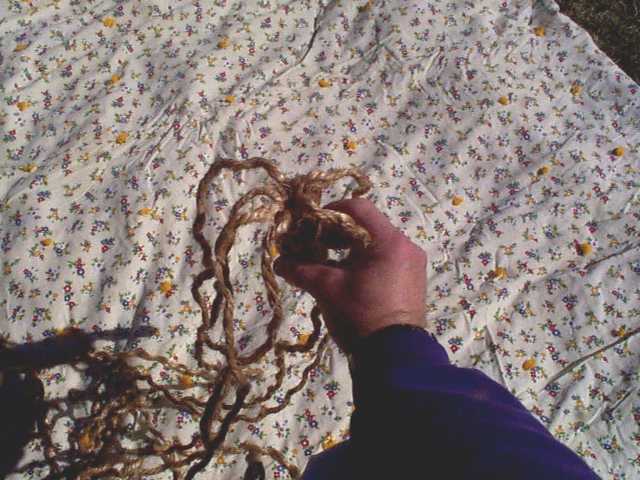 |
| 4. Grab any one strand (call it #1) and form a small
loop. Pass it underneath the next strand to its left (call it #2). |
 |
| 5. Grab the #2 strand and pass it underneath the #1
strand and under the next strand to the left. You guessed it, that's the #3 strand. |
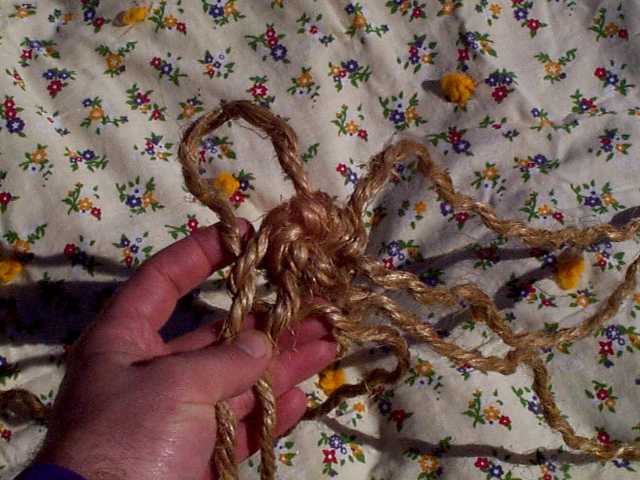 |
| 6. Grab the #3 strand and pass it underneath the #2
strand and under the next strand to the left. You guessed that one too, it's the #4
strand. |
 |
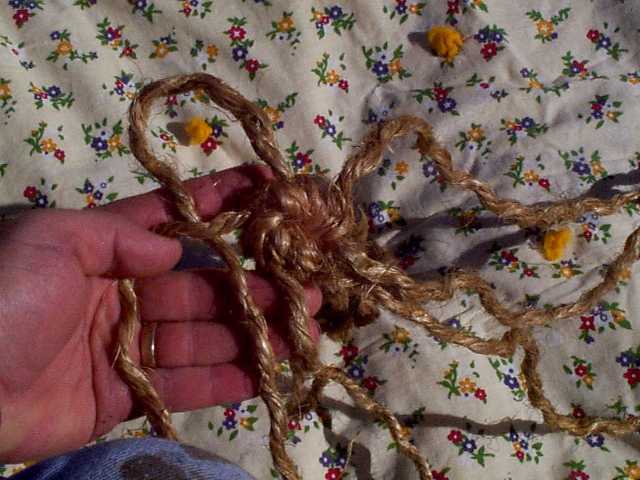
| 7. Pass the #4 strand under the #3 and #5 strand. |
 |
| 8. Pass the #5 strand under the #4 and #6 strand. |
 |
| 9. Pass the #6 strand under the #5 strand, then up
through the loop formed earlier with the #1 strand. |
 |
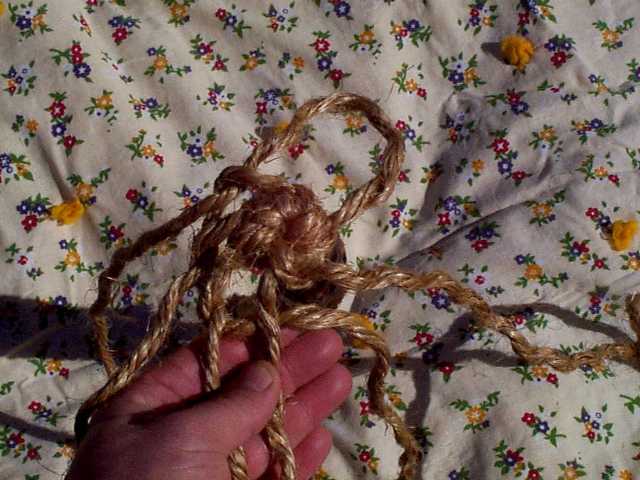
| 10. Keep track of the #1 strand and pull tight all of the
strands. Repeat steps (4) through (10) and the fender will begin to take shape |
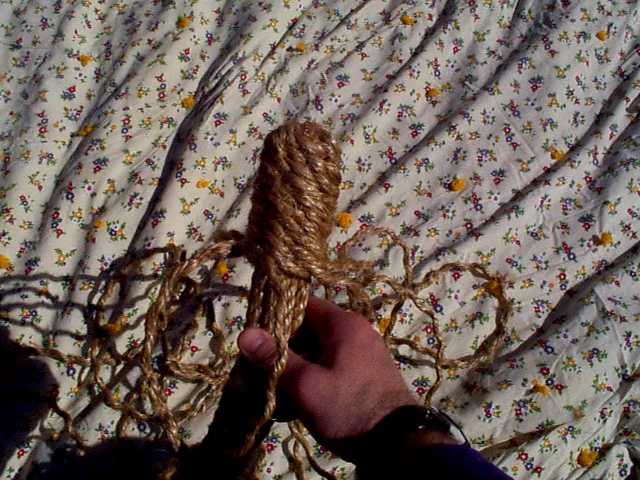 |
| 11. Repeat steps (4) through (10) until the top of the
filler pieces is reached. Remove the tape that was holding the loop. |
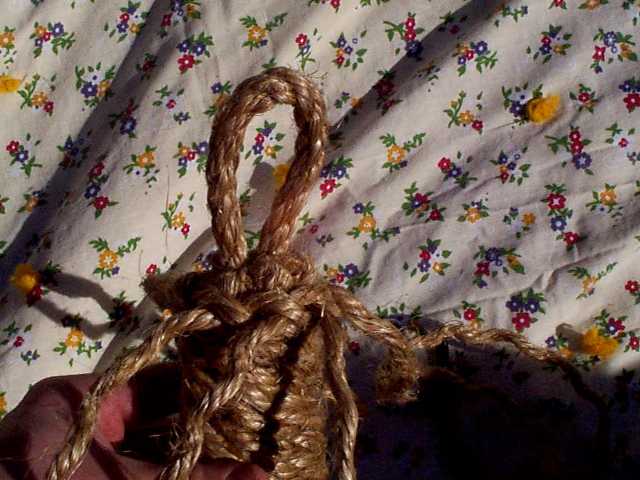 |
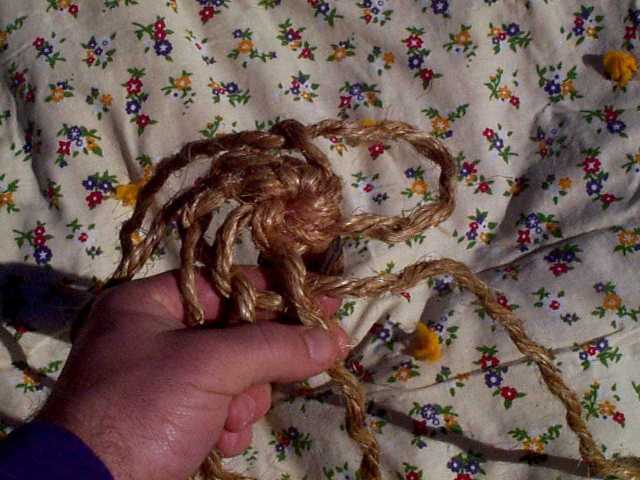
| 12. This step is more complicated to describe than to do.
You'll tie one or two rows of the exact same knot, except you'll first pair up adjacent
strands (#1-2, #3-4, #5-6). Make a loop with the #1-2 strands, pass them under the #3-4
strands, pass the #3-4 strands under the #1-2 strands and the #5-6 strands, then pass the
#5-6 strands under the #3-4 strands then up through the loop formed earlier with the #1-2
strands. It only takes one or two of these knots; when the top of the filler strands are
covered you're done knotting. |
 |
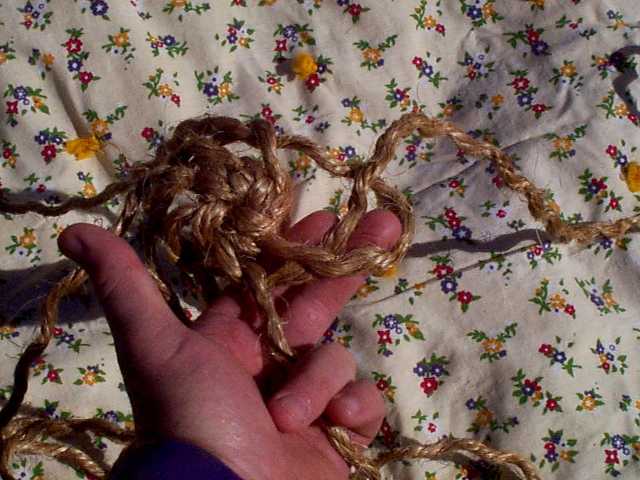
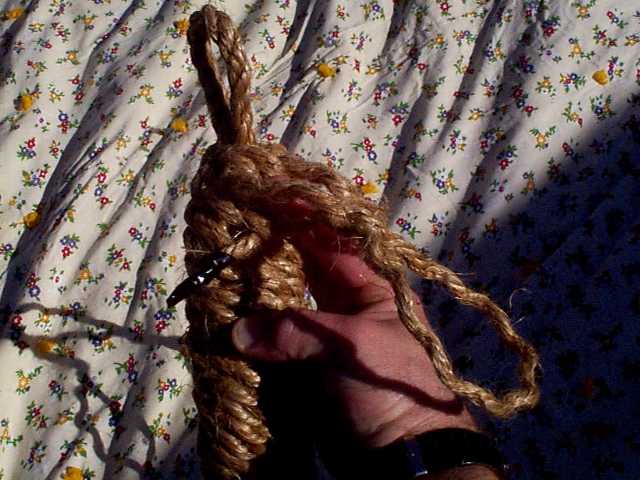
| 13. Using a marlinspike or a fid, pass the strands down
and under at least 3 or 4 rows of the fender. (You're just tucking the strands underneath
the fender.) Trim the excess with a knife or scissors. |
 |
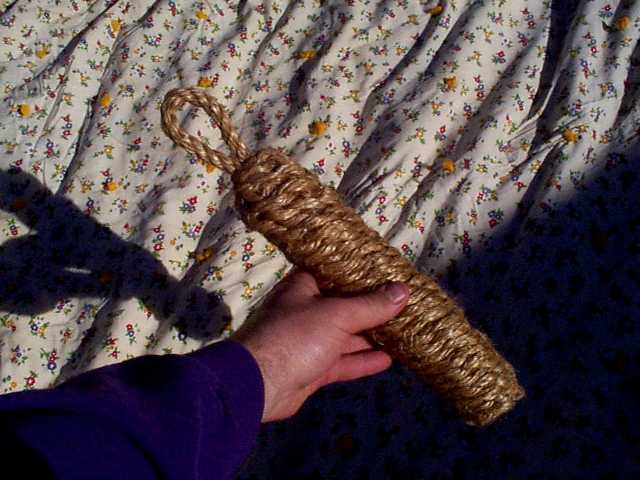
| 14. A finished fender! |
 |
Brightwood
Boat Co. LLC
1731 S. Peabody Street
Appleton, WI 54915
(920) 991-1722 phone
(208) 293-5303 fax
info@brightwoodboat.com
|
